Embroidery hoop frames are an exciting way to blend creativity with functionality, transforming everyday materials into eye-catching decor. Whether you’re a seasoned needlework enthusiast or a complete beginner, this guide will help you craft stunning embroidery hoop frames in just five simple steps. With easy-to-follow instructions, tips, and insights, you’ll create personalized pieces that can adorn your walls, shelves, or even be gifted to loved ones. Let’s get started!
Step 1: Gather Your Materials
Essential Tools and Supplies for Embroidery Hoop Frames
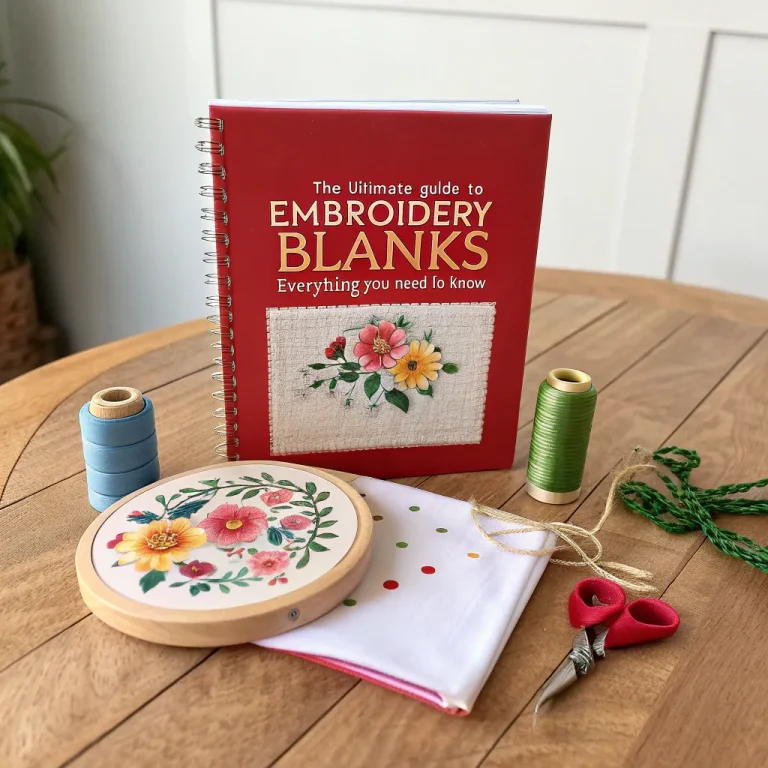
First, gather the necessary tools and materials. Use this checklist to make sure you’re ready:
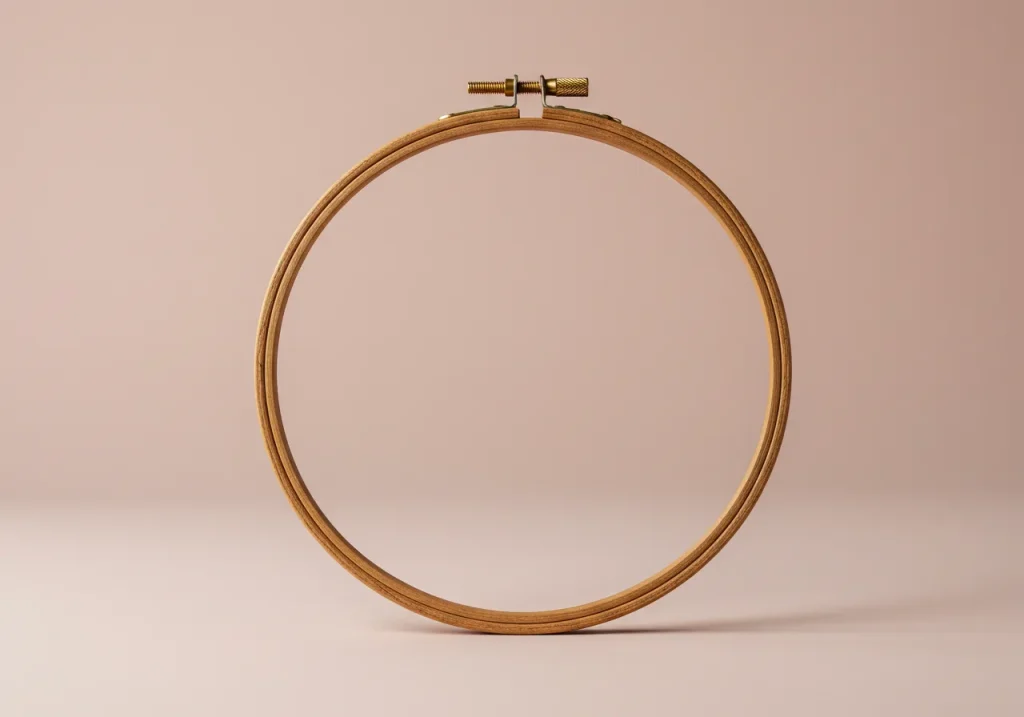
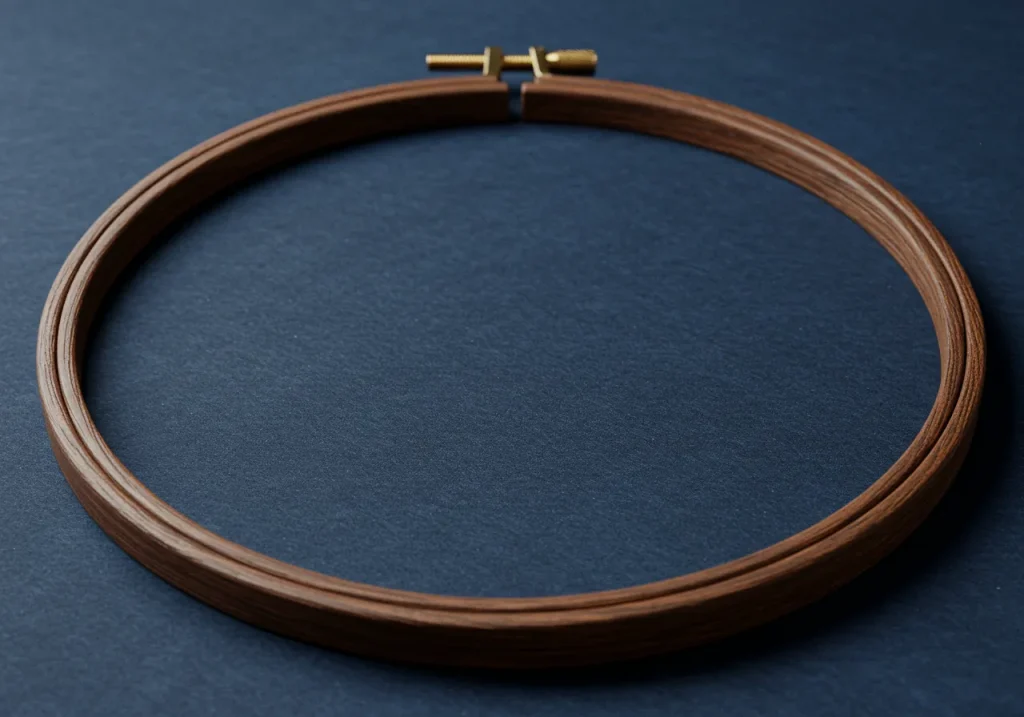
- Embroidery hoops: Choose from wooden, bamboo, or plastic hoops depending on your aesthetic. Wooden hoops are classic, while plastic ones offer vibrant color options.
- Fabric: Pick fabrics like cotton, linen, or pre-printed designs. These provide a smooth surface for your creation.
- Scissors: Sharp fabric scissors will help you cut precisely.
- Glue gun or fabric adhesive: These tools are essential for securing decorations and trimming.
- Decorative items: Think ribbons, lace, faux flowers, or buttons to add a unique touch.
Tips for Choosing Quality Materials
- Opt for wooden hoops for a timeless, natural look.
- Pre-wash fabric to prevent shrinkage or color bleeding later.
- Invest in durable scissors and high-quality glue for a polished result.
By starting with quality materials, your embroidery hoop frame will not only look beautiful but will also stand the test of time.
Step 2: Prepare the Fabric
Cutting and Positioning the Fabric for a Perfect Fit
The second step is to prepare your fabric, ensuring it fits snugly within the hoop. Follow these steps:
- Cut the fabric: Use your embroidery hoop as a guide to cut the fabric slightly larger than the hoop’s diameter.
- Center your design: If your fabric has a specific pattern or design, center it within the hoop to highlight it effectively.
- Iron the fabric: Remove any wrinkles or creases to achieve a smooth finish. A handheld steamer works well for delicate materials.
Pro Tip
For fabrics prone to fraying, apply a small amount of fabric glue along the edges to prevent unraveling. This helps maintain a clean and organized project.
Step 3: Assemble the Embroidery Hoop Frame
Securing the Fabric in the Hoop
Now comes the fun part—assembling the frame! Here’s how:
- Loosen the outer hoop: Turn the tightening screw to open the outer hoop slightly.
- Position the fabric: Place the fabric over the inner hoop, ensuring the design is centered.
- Tighten the outer hoop: Press the outer hoop down over the fabric and inner hoop. Tighten the screw until the fabric feels taut.
- Trim excess fabric: Use scissors to cut away fabric around the hoop, leaving a small border.
Troubleshooting Common Issues
- Loose fabric: Ensure the screw is tightened completely. If it’s still loose, try re-adjusting the fabric.
- Slipping fabric: Use a glue gun to secure stubborn areas to the inner hoop.
By securing the fabric properly, your embroidery hoop frame will have a professional, polished look.
Step 4: Add Decorative Elements
Personalizing Your Embroidery Hoop Frame
This step is where your creativity shines. Embellishments turn your embroidery hoop frame into a statement piece. Here are some ideas:
- Ribbons and lace: Wrap the hoop with decorative ribbon or lace for added texture.
- Painted frames: Use acrylic paint to add a pop of color or intricate designs to the wooden hoop.
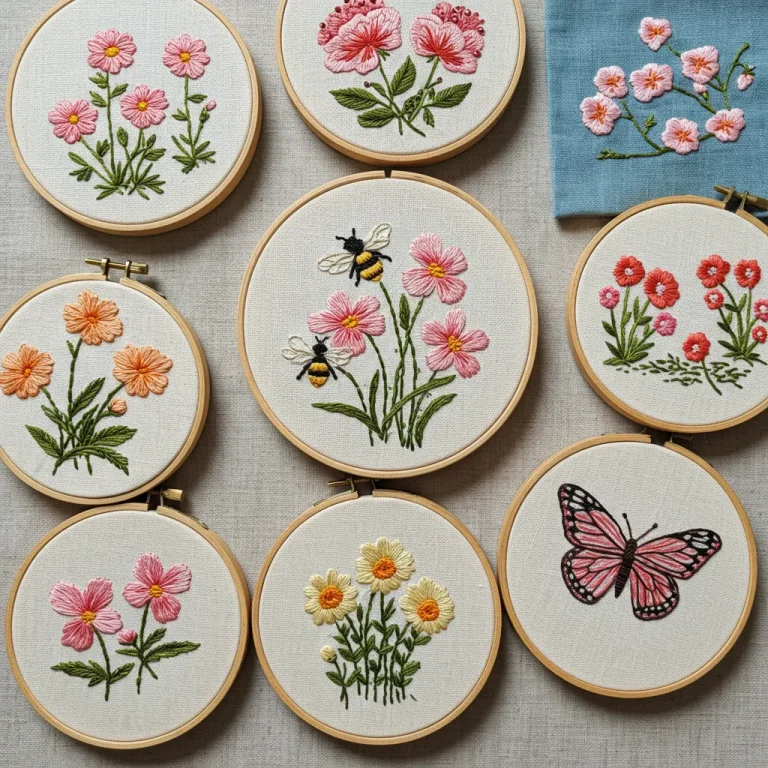
- Seasonal themes: Add elements like faux snowflakes for winter or pastel florals for spring.
- Text or quotes: Use fabric paint or embroidery thread to add meaningful words or phrases.
Decorative Ideas by Theme
| Theme | Decorative Elements | Suggested Colors |
|---|---|---|
| Rustic Chic | Burlap, twine, dried flowers | Beige, brown, cream |
| Modern Minimal | Metallic paint, geometric designs | Gold, black, white |
| Festive Fun | Glitter, sequins, holiday motifs | Red, green, silver |
Step 5: Display Your Creation
Showcasing Embroidery Hoop Frames
With your frame complete, it’s ready to be proudly displayed.
Here are some ways to showcase your creation:
- Hanging on walls: Use adhesive hooks or nails to hang the hoop directly on your wall. Arrange multiple hoops in a gallery-style layout for maximum impact.
- Placing on shelves: Lean smaller frames against bookshelves, mantels, or nightstands for a cozy, personalized touch.
- Incorporating into decor: Use your hoop frame as part of a wreath or centerpiece for special occasions.
Pro Tip
Grouping embroidery hoop frames in odd numbers creates a balanced and visually appealing arrangement.
FAQ Section
Frequently Asked Questions About Embroidery Hoop Frames
- What fabric works best for embroidery hoop frames? Cotton and linen are ideal for their durability and smooth texture, but you can experiment with other fabrics for unique effects.
- Can I reuse embroidery hoops for new projects? Absolutely! Simply remove the old fabric, clean the hoop, and start fresh.
- How do I fix loose fabric in the hoop? Ensure the screw is fully tightened and stretch the fabric evenly. For extra security, use fabric glue.
- What’s the best way to hang embroidery hoop frames? Adhesive hooks work well for lightweight hoops, while nails or screws are better for larger, heavier frames.
- Can I involve kids in making embroidery hoop frames? Yes! Choose safe materials and supervise the use of tools like scissors and glue guns. This is a fun and creative activity for children.
Conclusion
Embroidery hoop frames are an accessible and versatile craft that allow you to express your creativity while adding charm to your space. With just five easy steps, you can create personalized decor pieces that reflect your style and bring warmth to your home. Start today, and let your imagination guide you as you craft stunning embroidery hoop frames.


