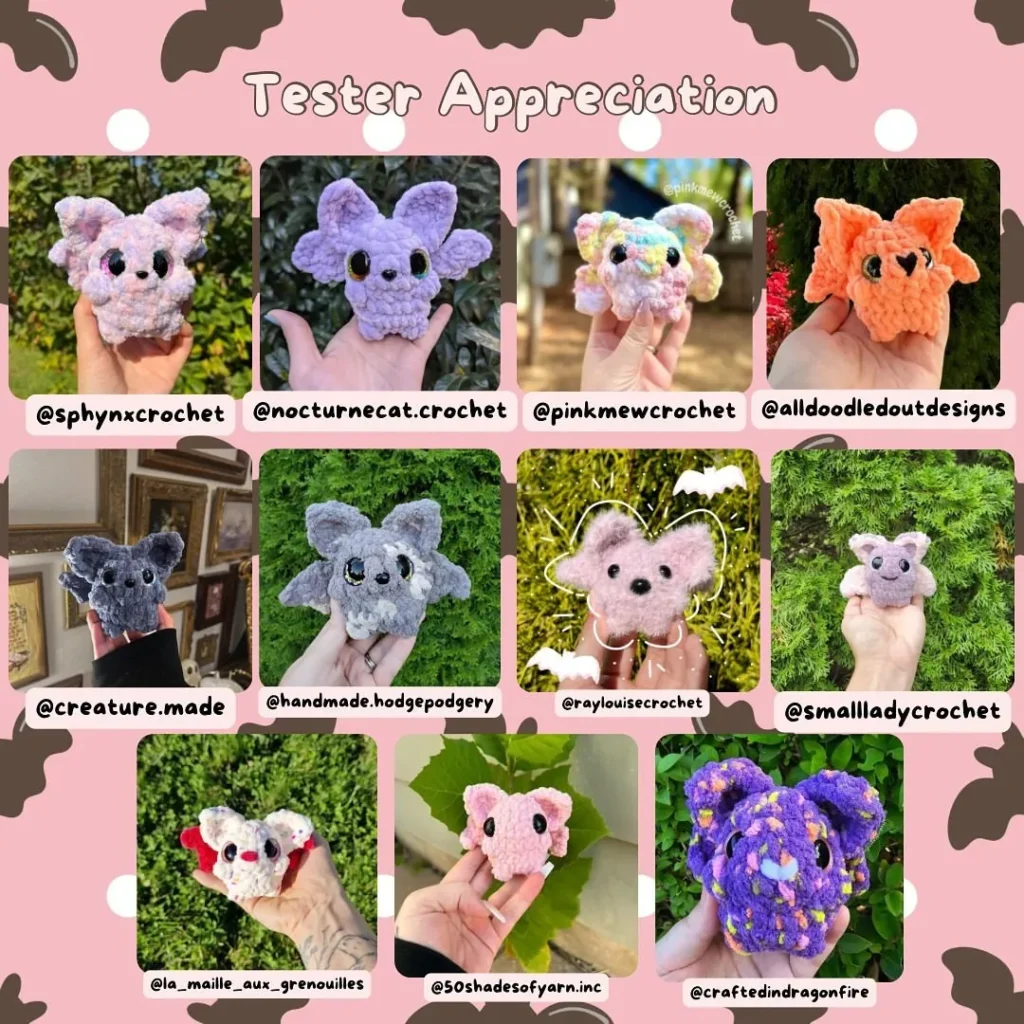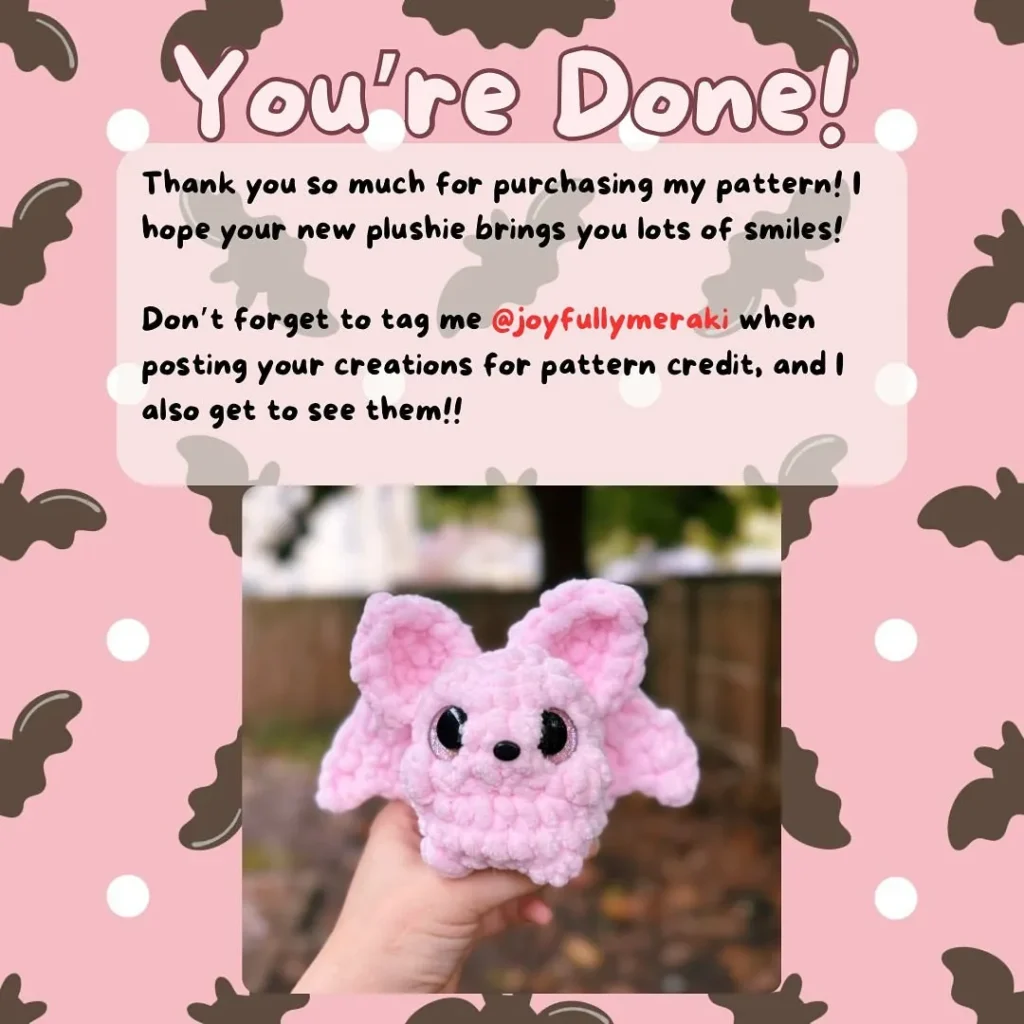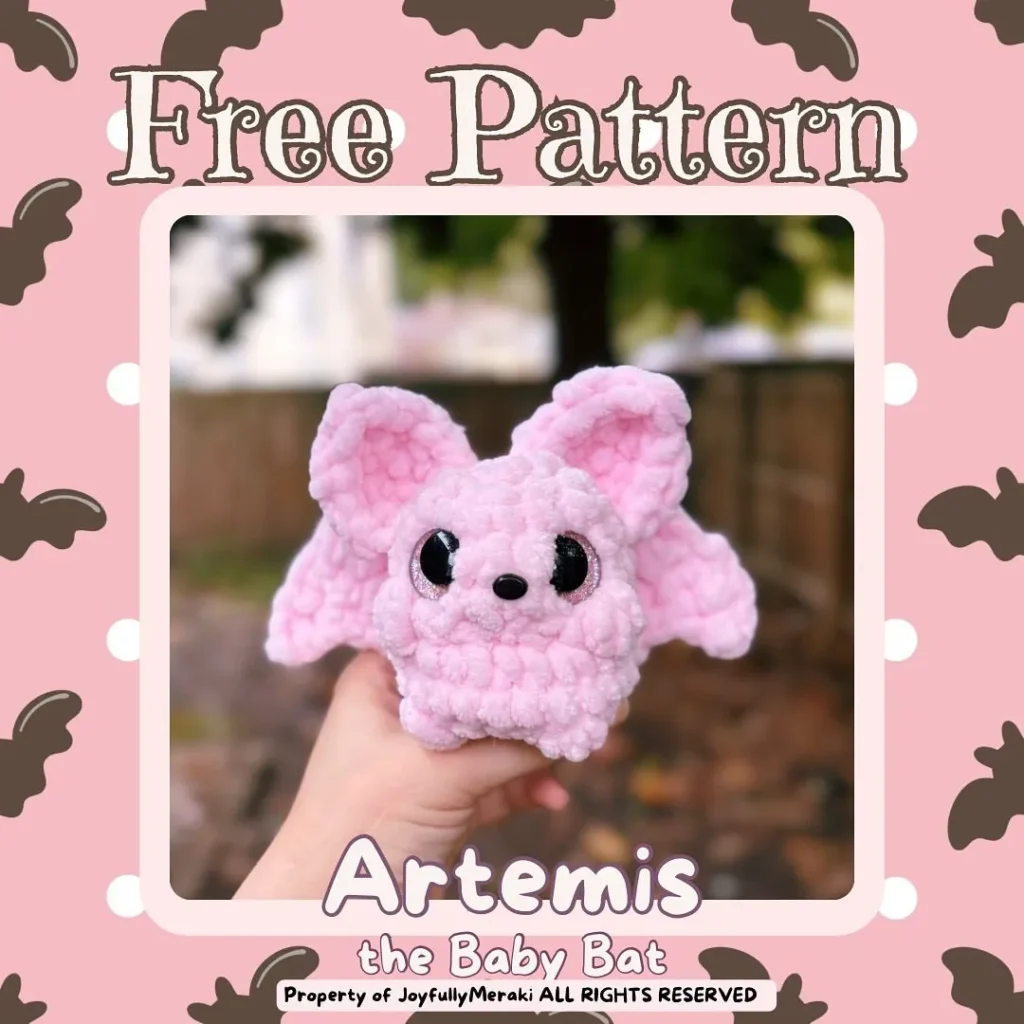
Artemis the Baby Bat – Free Pattern
📚 Important Notes
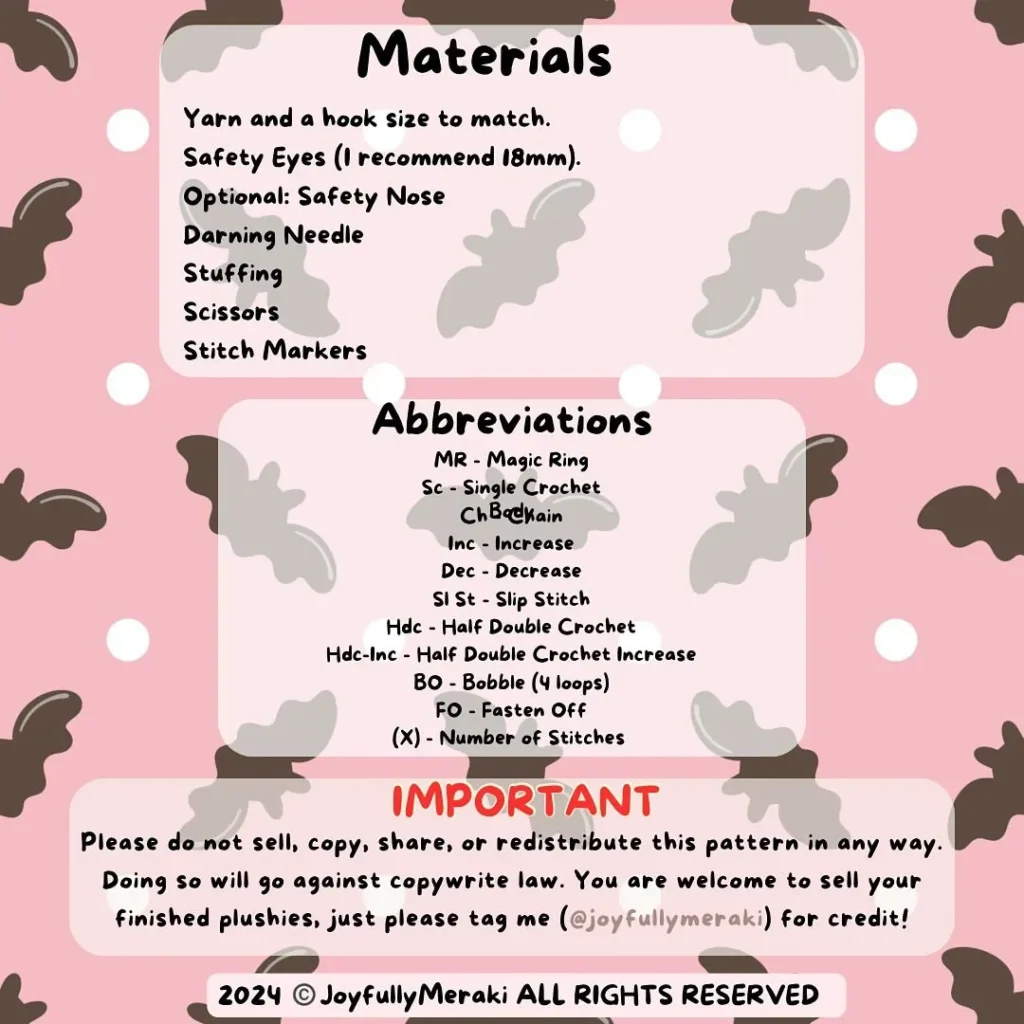
- You are welcome to sell your finished plushies, but please tag @joyfullymeraki for credit!
- Please do not sell, copy, share, or redistribute this pattern in any way.
🧵 Materials
- Yarn and a hook size to match.
- Safety Eyes (18mm recommended).
- Optional: Safety Nose.
- Tools: Darning Needle, Stuffing, Scissors, Stitch Markers.
🔑 Abbreviations
| Abbreviation | Meaning |
| MR | Magic Ring |
| Sc | Single Crochet |
| Ch | Chain |
| Inc | Increase (2 Sc in one stitch) |
| Dec | Decrease (Sc 2 together) |
| Sl St | Slip Stitch |
| Hdc | Half Double Crochet |
| Hdc-Inc | Half Double Crochet Increase |
| BO | Bobble (4 loops) |
| FO | Fasten Off |
| (X) | Number of Stitches |
Export to Sheets
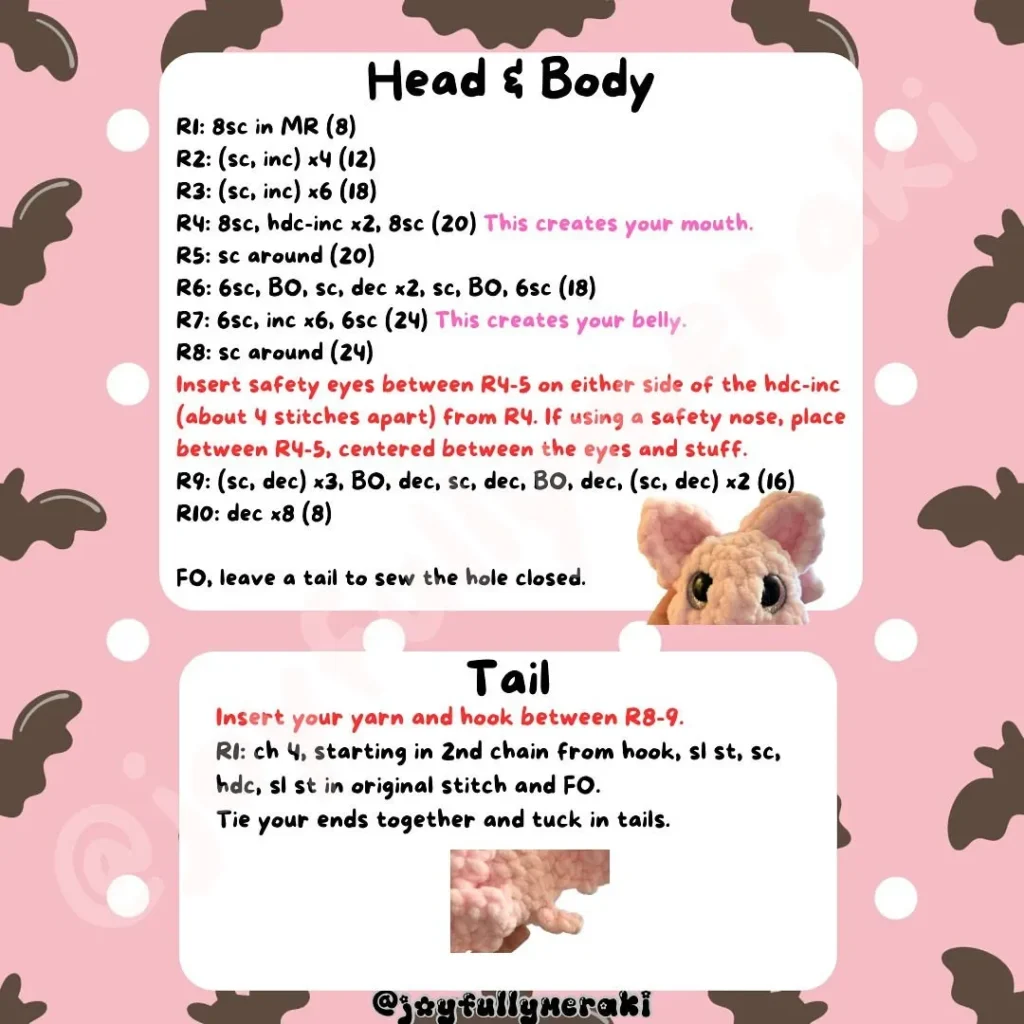
I. Head & Body (Continuous Rounds)
| Round | Pattern | Stitches (St) |
| R1 | 8 sc in MR | (8) |
| R2 | (sc, inc) x 4 | (12) |
| R3 | (sc, inc) x 6 | (18) |
| R4 | 8 sc, hdc-inc x 2, 8 sc | (20) This creates your mouth. |
| R5 | sc around | (20) |
| R6 | 6 sc, BO, sc, dec x 2, sc, BO, 6 sc | (18) |
| R7 | 6 sc, inc x 6, 6 sc | (24) This creates your belly. |
| R8 | sc around | (24) |
| Insert safety eyes between R4-5 centered from R4 (about 4 stitches apart). If using a safety nose, place between R4-5, centered between the eyes and stuff. | ||
| R9 | (sc, dec) x 3, BO, dec, sc, dec, BO, dec, (sc, dec) x 2 | (16) |
| R10 | dec x 8 | (8) |
| FO, leave a tail to sew the hole closed. |
Export to Sheets
II. Components
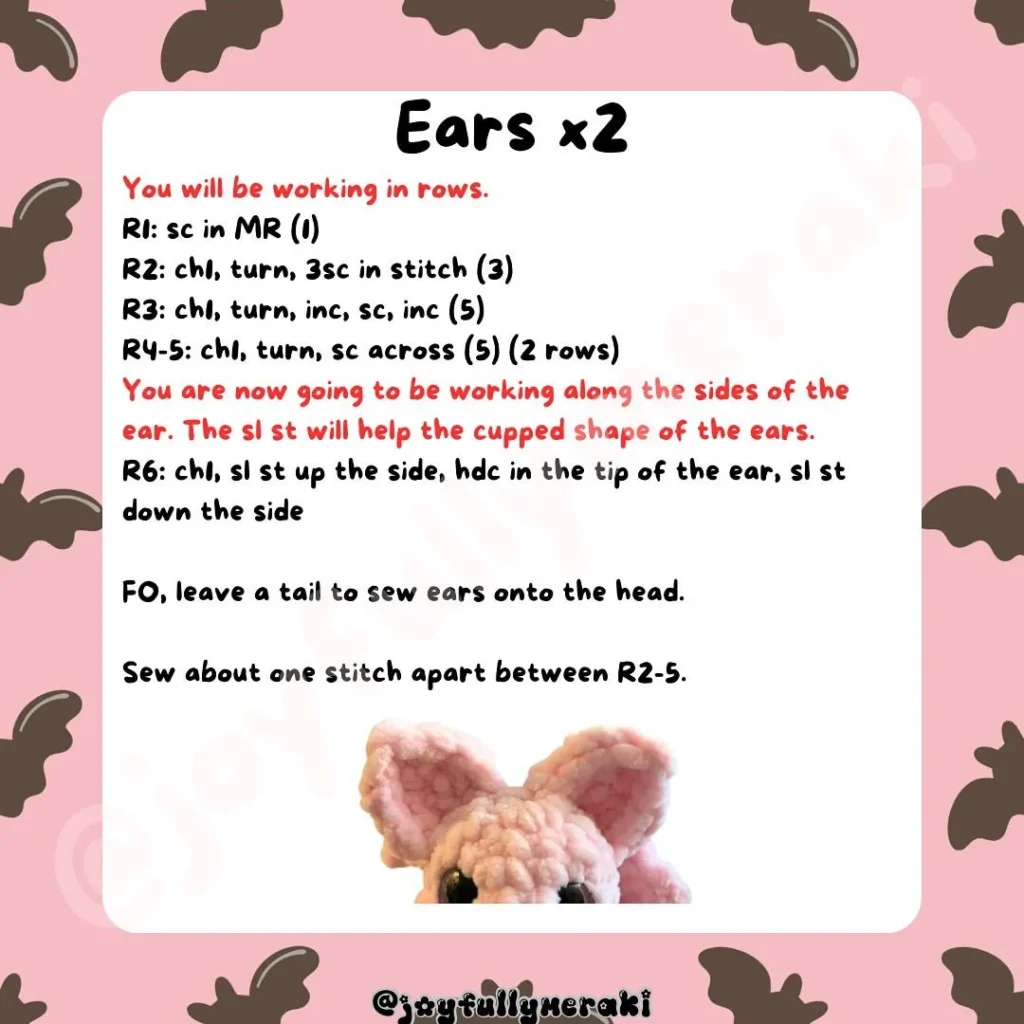
A. Ears (x2)
(You will be working in rows.)
| Row | Pattern | Stitches (St) |
| R1 | sc in MR | (1) |
| R2 | ch 1, turn, 3 sc in stitch | (3) |
| R3 | ch 1, turn, inc, sc, inc | (5) |
| R4-5 | ch 1, turn, sc across (2 rows) | (5) |
| You are now going to be working along the sides of the ear. The sl st will help the cupped shape. | ||
| R6 | ch 1, sl st up the side, hdc in the tip of the ear, sl st down the side. | |
| FO, leave a tail to sew ears onto the head. | ||
| Sew about one stitch apart between R2-5 of the head. |
Export to Sheets
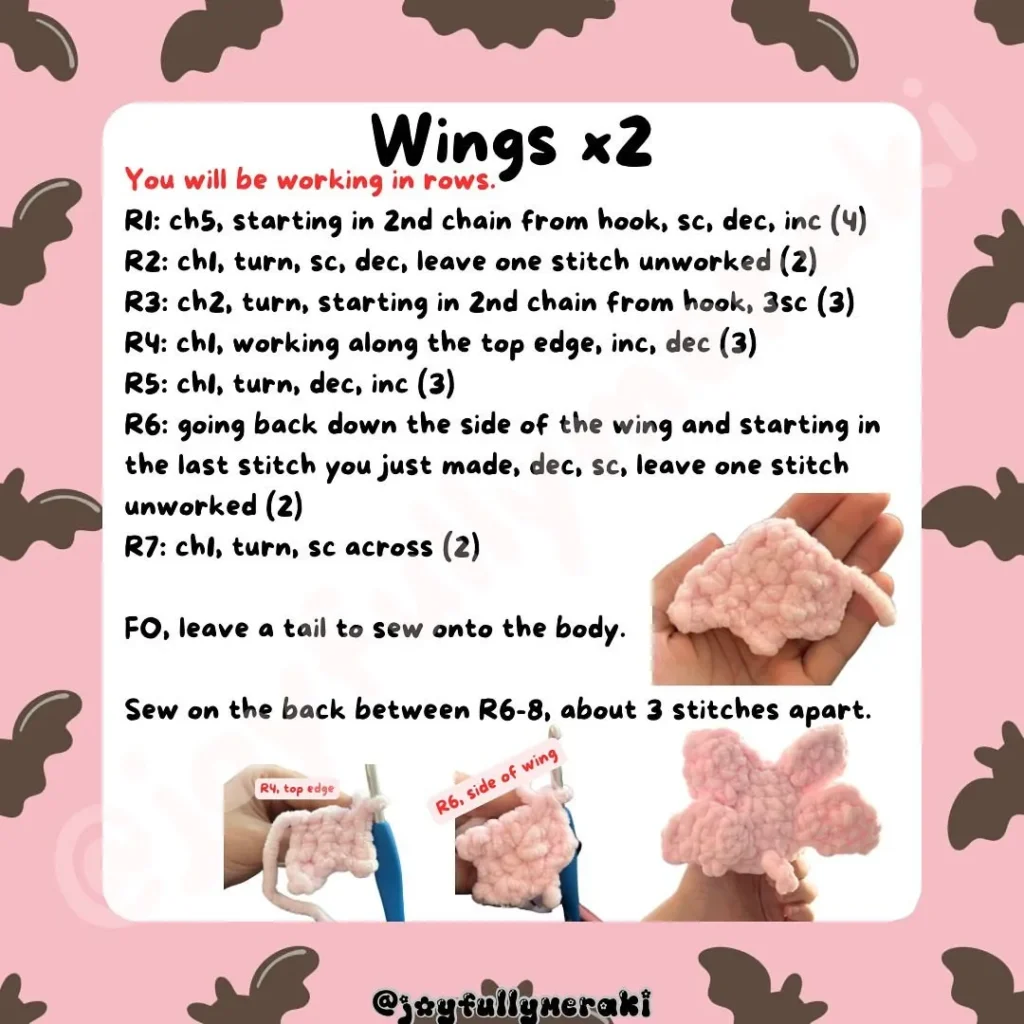
B. Wings (x2)
(You will be working in rows.)
| Row | Pattern | Stitches (St) |
| R1 | ch 5, starting in 2nd chain from hook, sc, dec, inc | (4) |
| R2 | ch 1, turn, sc, dec, leave one stitch unworked | (2) |
| R3 | ch 2, turn, starting in 2nd chain from hook, 3 sc | (3) |
| R4 | ch 1, working along the top edge, inc, dec | (3) |
| R5 | ch 1, turn, dec, inc | (3) |
| R6 | going back down the side of the wing and starting in the last stitch you just made, dec, sc, leave one stitch unworked | (2) |
| R7 | ch 1, turn, sc across | (2) |
| FO, leave a tail to sew onto the body. | ||
| Sew on the back between R6-8, about 3 stitches apart. |
Export to Sheets
C. Tail
- Insert your yarn between R8-9 of the body.
- R1: ch 4, starting in 2nd chain from hook, sl st, sc, hdc, sl st in original stitch and FO.
- Tie your ends together and tuck in tails.