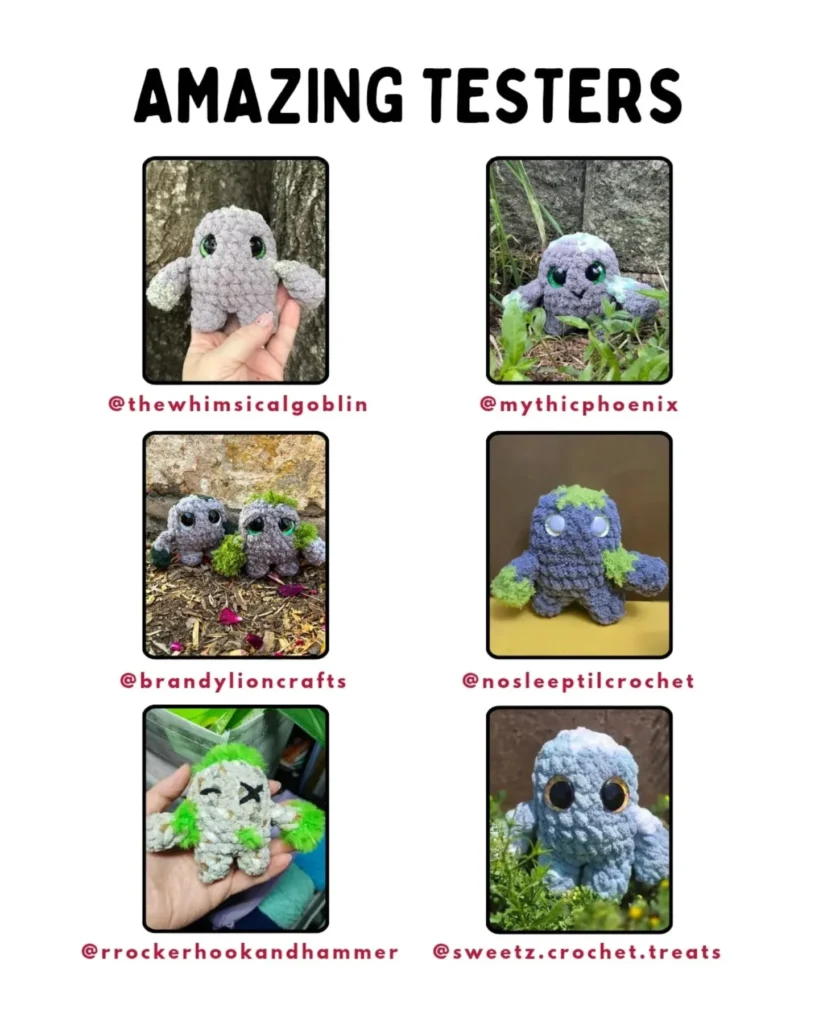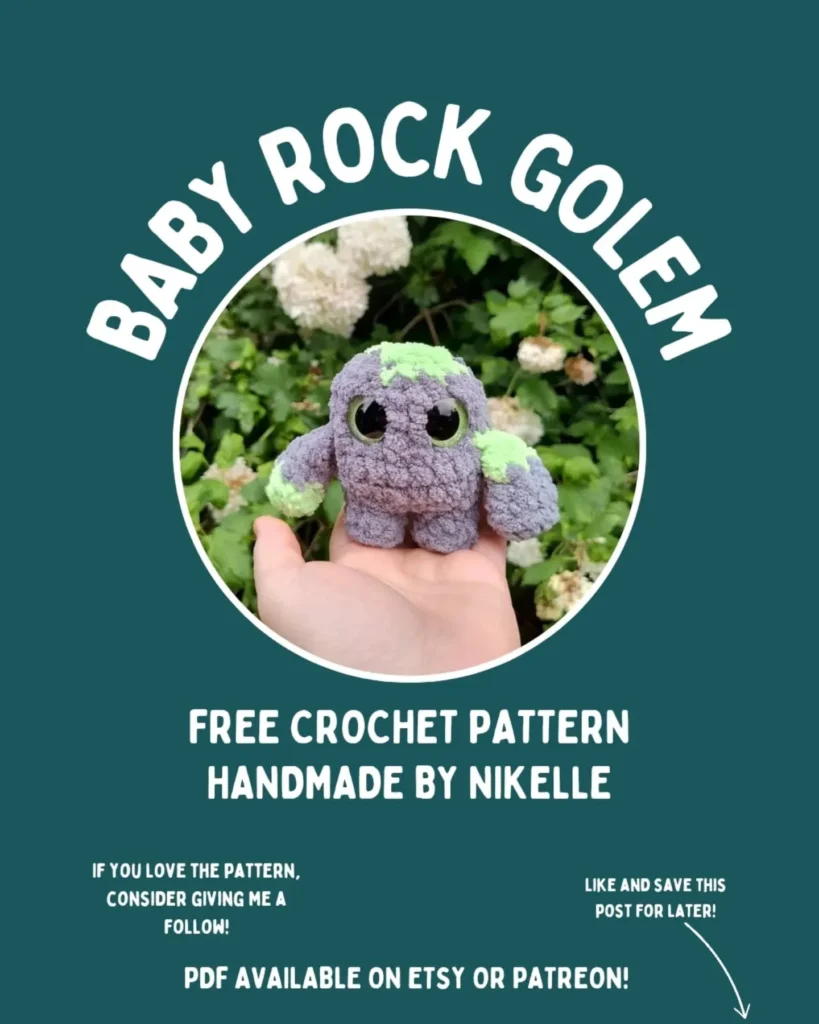
Baby Rock Golem – Free Crochet Pattern
📚 Notes
- We will be working in a continuous spiral; a stitch marker is recommended.
- To form a Magic Ring with blanket yarn, you can CH 2 and use the 2nd CH from the hook as your magic ring.
- The pattern is for personal use only. You may sell any finished items made from it.
🧶 Materials
- Yarn of Choice: Two colors—Grey (Main Body) and Green (Moss/Highlights). Designer used Premier Basix Chenille Brights (Pewter and Kiwi/Caribbean).
- Crochet Hook
- Safety Eyes (in desired size, 20mm used by designer).
- Tools: Tapestry Needle, Scissors, Stitch Marker(s), Fiber Fill.
🔑 Abbreviations (US Terminology)
| Abbreviation | Meaning |
| MR | Magic Ring |
| RND | Round |
| FO | Fasten Off |
| BLO | Back Loop Only |
| ST | Stitch |
| CH | Chain |
| SLST | Slip Stitch |
| SC | Single Crochet |
| INC | Increase |
| DEC | Decrease |
| “…” | Repeat Between |
| (#) | Stitch Count |
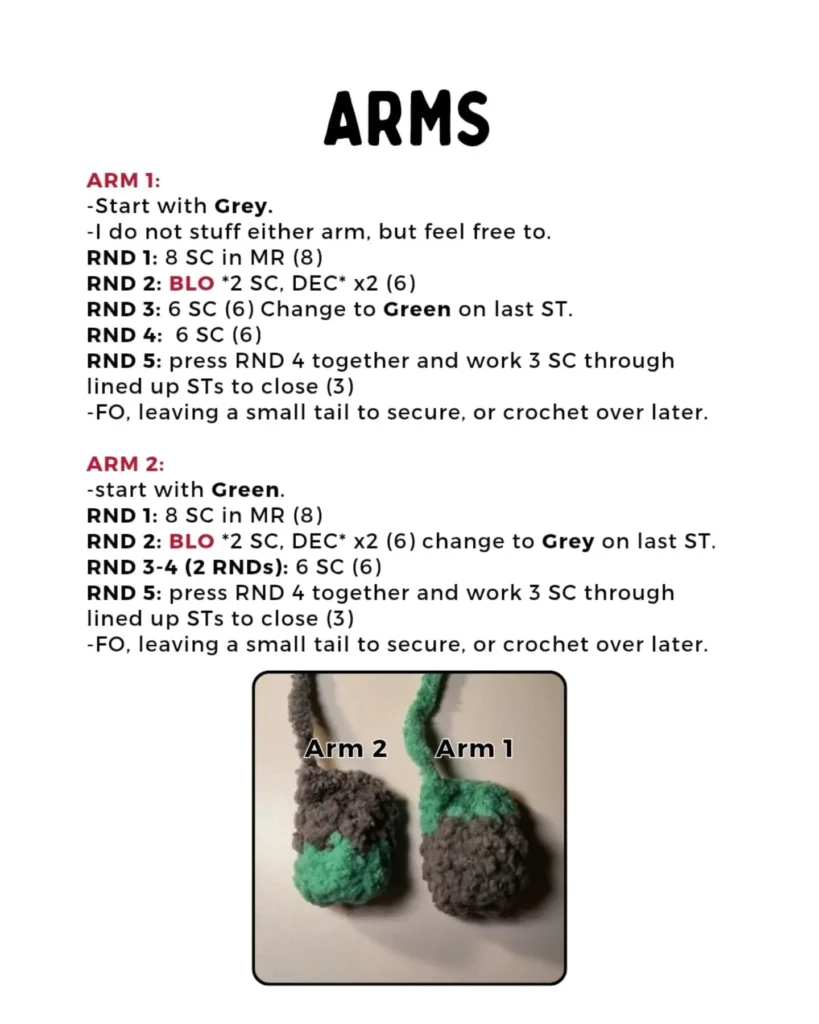
I. Arms (Make 2)
Arm 1
(Start with Grey)
- RND 1: 8 SC in MR (8)
- RND 2: BLO *2 SC, DEC* x 2 (6)
- RND 3: 6 SC (6). Change to Green on last ST.
- RND 4: 6 SC (6)
- RND 5: Press RND 4 together and work 3 SC through lined up STs to close (3).
- FO, leaving a small tail to secure, or crochet over later.
- Do not stuff Arm 1 (or Arm 2), but feel free to if you prefer.
Arm 2
(Start with Green)
- RND 1: 8 SC in MR (8)
- RND 2: BLO *2 SC, DEC* x 2 (6). Change to Grey on last ST.
- RND 3-4 (2 RNDS): 6 SC (6)
- RND 5: Press RND 4 together and work 3 SC through lined up STs to close (3).
- FO, leaving a small tail to secure, or crochet over later.
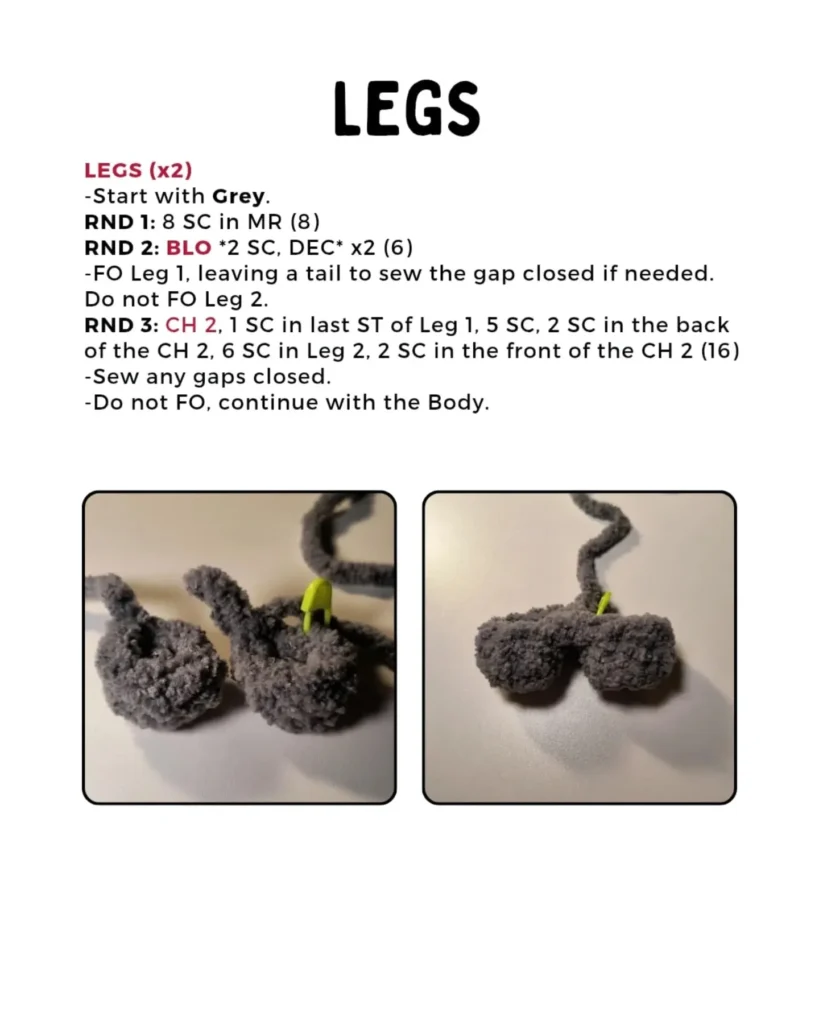
II. Legs (Make 2)
(Start with Grey)
- RND 1: 8 SC in MR (8)
- RND 2: BLO *2 SC, DEC* x 2 (6)
- FO Leg 1, leaving a tail to sew the gap closed if needed. Do not FO Leg 2.
(Do not FO Leg 2, continue with RND 3 to join to Leg 1.)
- RND 3: CH 2, 1 SC in last ST of Leg 1, 5 SC, 2 SC in the back of the CH 2, 6 SC in Leg 2, 2 SC in the front of the CH 2 (16).
- Sew any gaps closed.
- Do not FO, continue with the Body.
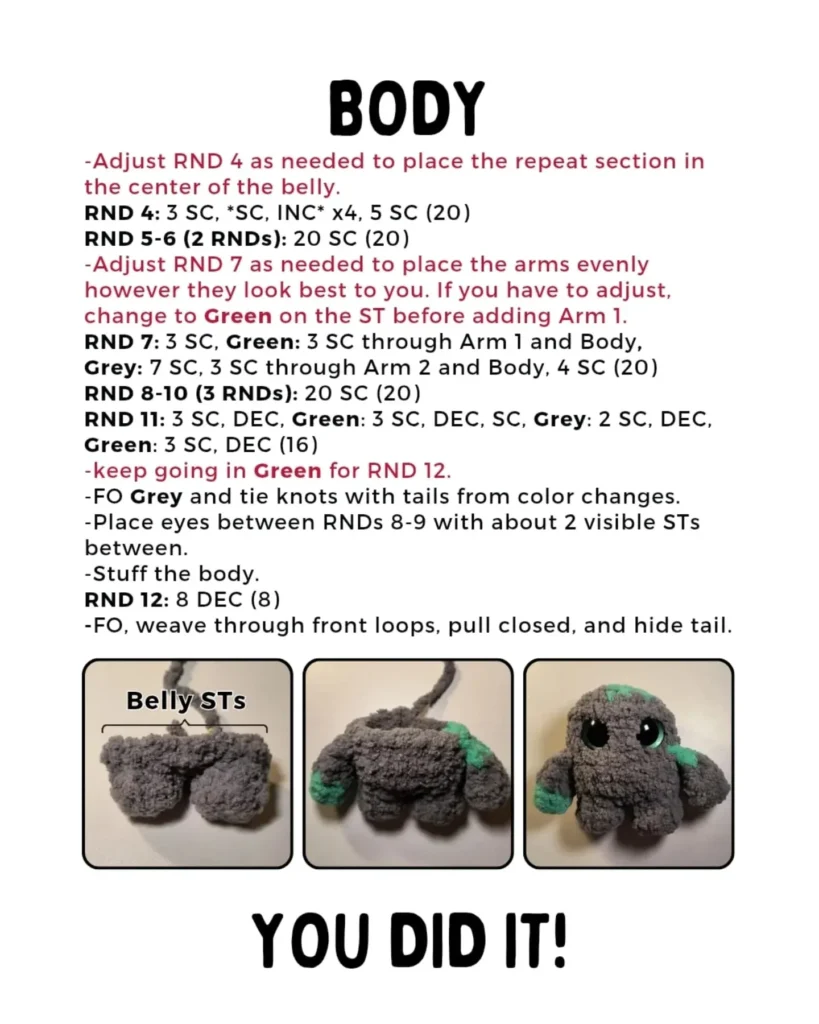
III. Body (Joined to Legs)
(Continue from Leg RND 3 / 16 STs, primarily in Grey)
- RND 4: 3 SC, *SC, INC* x 4, 5 SC (20).
- Adjust RND 4 as needed to place the repeat section in the center of the belly.
- RND 5-6 (2 RNDS): 20 SC (20)
- RND 7: 3 SC, Green: 3 SC through Arm 1 and Body, Grey: 7 SC, 3 SC through Arm 2 and Body, 4 SC (20).
- Adjust RND 7 as needed to place the arms evenly. If you have to adjust, change to Green on the ST before adding Arm 1.
- RND 8-10 (3 RNDS): 20 SC (20)
- RND 11: 3 SC, DEC, Green: 3 SC, DEC, SC, Grey: 2 SC, DEC, Green: 3 SC, DEC (16).
- RND 12:Keep going in Green for RND 12. 8 DEC (8).
- Note: The pattern seems to have skipped RND 12 for the Grey/Green SC/DEC portions and gone straight to the final RND 12 decrease. Given the pattern flow:
- [Assumed RND 12 stitch count adjustment needed]: 8 DEC (8).
- Stuff the body.
- Place eyes between RNDs 8-9 with about 2 visible STs between them.
- FO Grey and tie knots with tails from color changes.
- Final Closure: RND 13: FO, weave through front loops, pull closed, and hide tail.