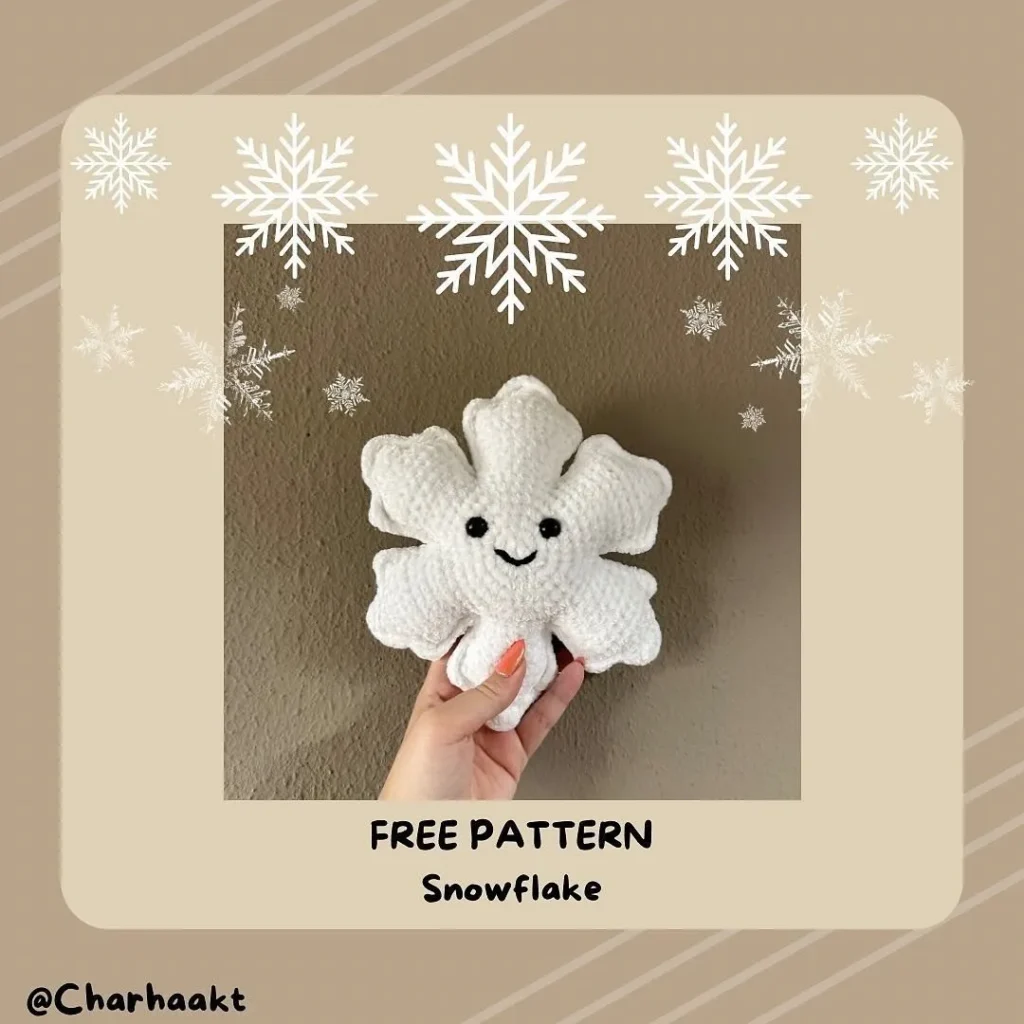
This is an original pattern: Do not sell or copy the pattern. You may sell the finished product, but please credit @Charhaakt as the designer!
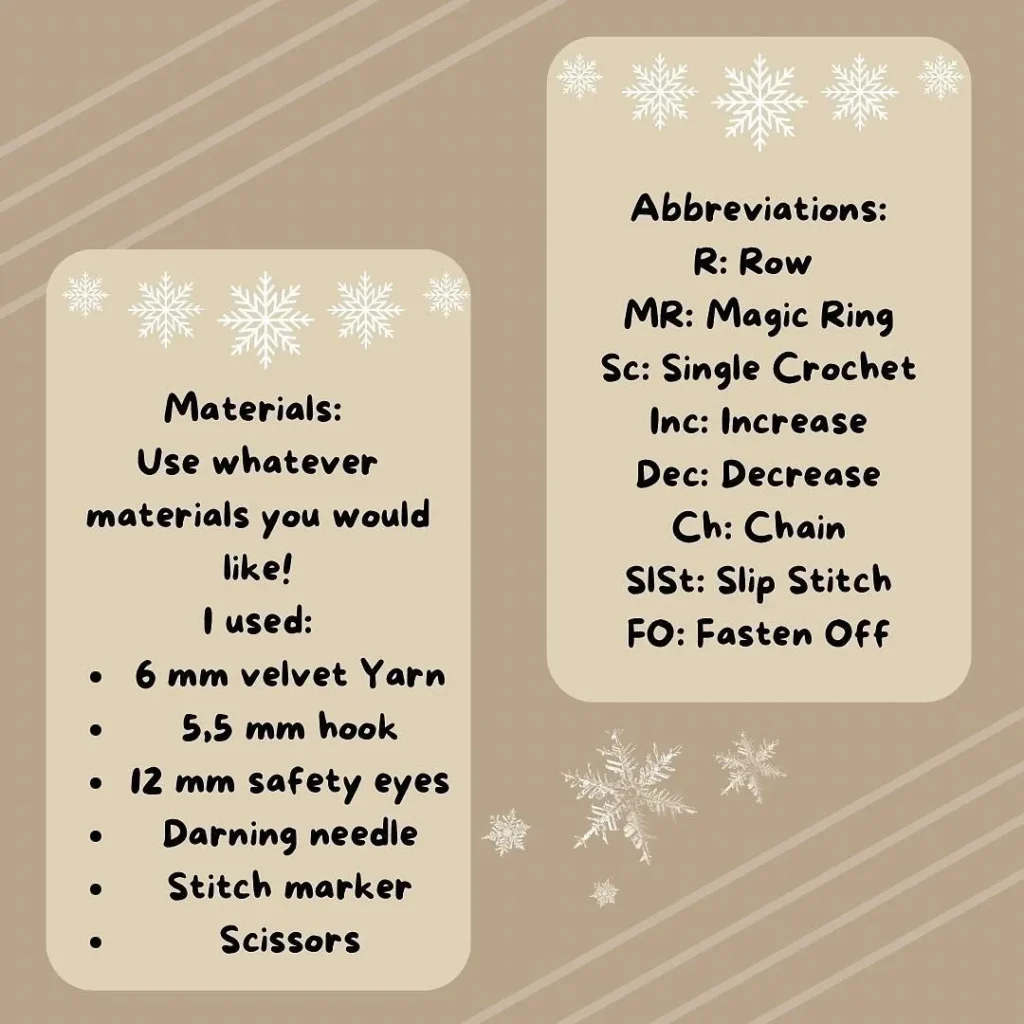
🧵 Materials (Recommended)
Yarn: 6 mm velvet Yarn (or yarn of your choice)
Hook: 5.5 mm hook
Safety Eyes: 12 mm
Tools: Darning needle, Stitch marker, Scissors
🔑 Abbreviations
Abbreviation
Meaning
R
Row
MR
Magic Ring
Sc
Single Crochet
Inc
Increase (2 sc in one stitch)
Dec
Decrease (Single Crochet 2 together)
Ch
Chain
SlSt
Slip Stitch
FO
Fasten Off
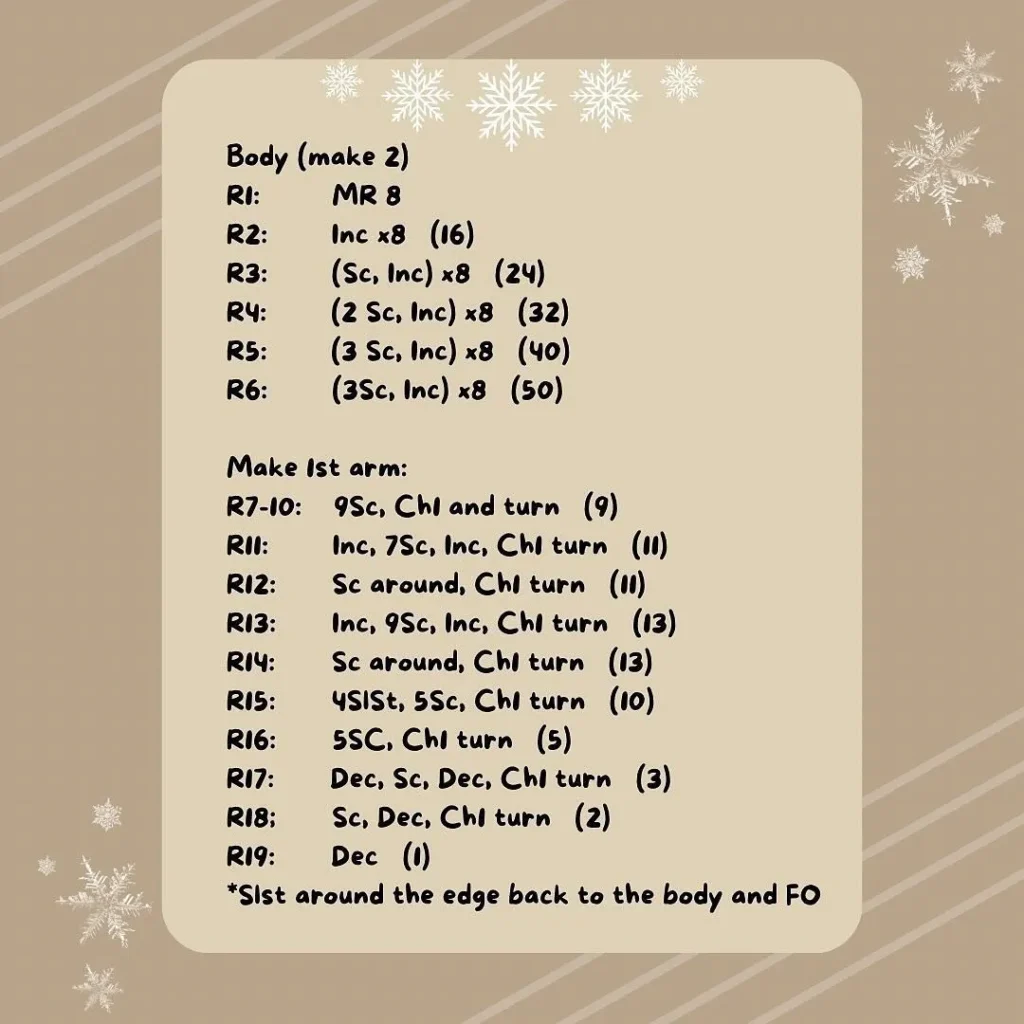
1. Body (Make 2)
Round
Pattern
Stitches (St)
R1
MR 8
(8)
R2
Inc x 8
(16)
R3
(Sc, Inc) x 8
(24)
R4
(2 Sc, Inc) x 8
(32)
R5
(3 Sc, Inc) x 8
(40)
R6
(3 Sc, Inc) x 8
(50)
(Note: The stitch count for R6 looks like a typo in the original image. R5 ends at 40 stitches, and R6 is written as (3 Sc, Inc) x 8, which should result in 48 stitches, not 50. Assuming the goal is a 6-pointed star, the pattern moves into the arms after R6.)
2. Arms / Snowflake Points
The pattern alternates between two arm types to create the 6 points:
Arm Pattern 1 (For 1st and 4th Arm)
Row
Pattern
Stitches (St)
R7-10
9 Sc, Ch 1 and turn (4 rows)
(9)
R11
Inc, 7 Sc, Inc, Ch 1 turn
(11)
R12
Sc around, Ch 1 turn
(11)
R13
Inc, 9 Sc, Inc, Ch 1 turn
(13)
R14
Sc around, Ch 1 turn
(13)
R15
4 SlSt, 5 Sc, Ch 1 turn
(10)
R16
5 Sc, Ch 1 turn
(5)
R17
Dec, Sc, Dec, Ch 1 turn
(3)
R18
Sc, Dec, Ch 1 turn
(2)
R19
Dec
(1)
SlSt around the edge back to the body and FO.
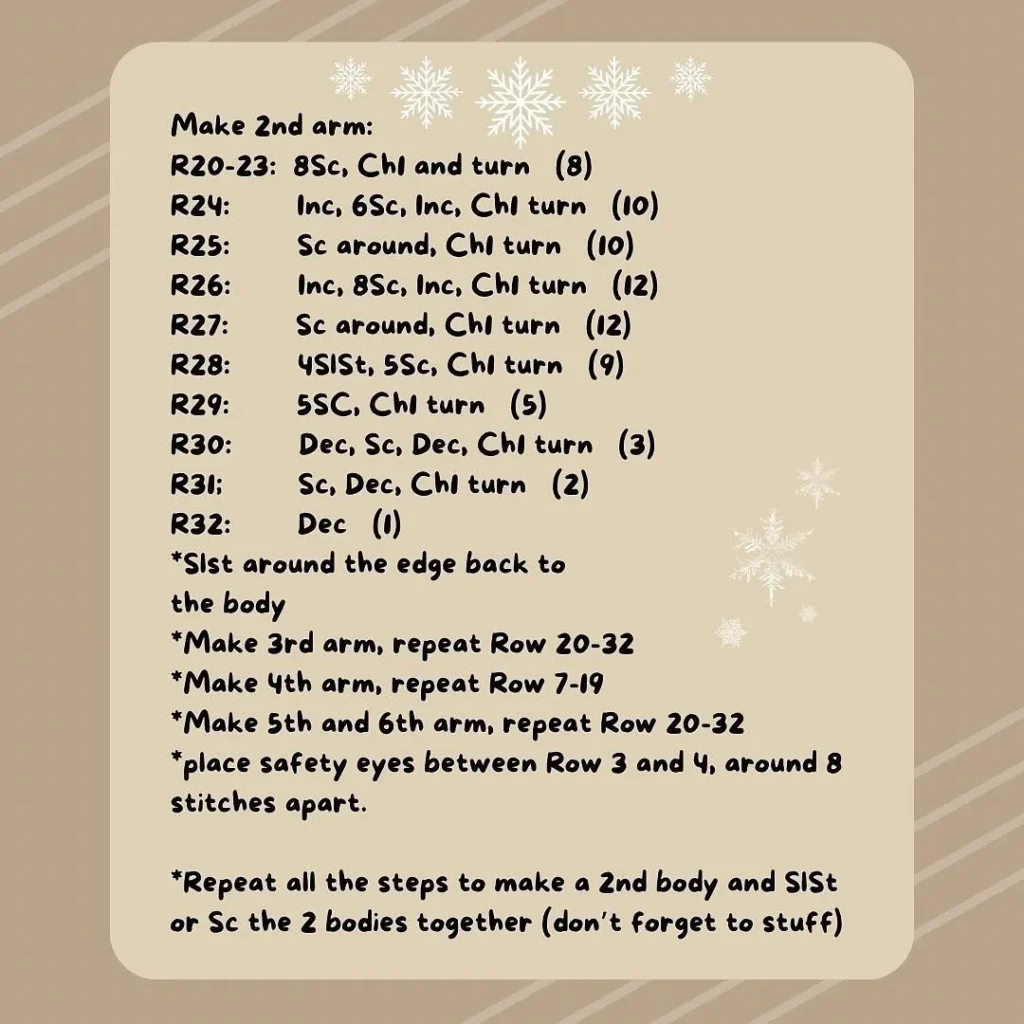
Arm Pattern 2 (For 2nd, 3rd, 5th, and 6th Arm)
Row
Pattern
Stitches (St)
R20-23
8 Sc, Ch 1 and turn (4 rows)
(8)
R24
Inc, 6 Sc, Inc, Ch 1 turn
(10)
R25
Sc around, Ch 1 turn
(10)
R26
Inc, 8 Sc, Inc, Ch 1 turn
(12)
R27
Sc around, Ch 1 turn
(12)
R28
4 SlSt, 5 Sc, Ch 1 turn
(9)
R29
5 Sc, Ch 1 turn
(5)
R30
Dec, Sc, Dec, Ch 1 turn
(3)
R31
Sc, Dec, Ch 1 turn
(2)
R32
Dec
(1)
SlSt around the edge back to the body and FO.
3. Arm Order and Assembly
Make 1st arm: Repeat Row 7-19.
Make 2nd arm: Repeat Row 20-32.
Make 3rd arm: Repeat Row 20-32.
Make 4th arm: Repeat Row 7-19.
Make 5th arm: Repeat Row 20-32.
Make 6th arm: Repeat Row 20-32.
Place safety eyes between Row 3 and 4, around 8 stitches apart.
Final Assembly:
Repeat all the steps to make a 2nd body (Head and Arms).
SlSt or Sc the 2 bodies together around the edge.
Don’t forget to stuff the body before completely closing.