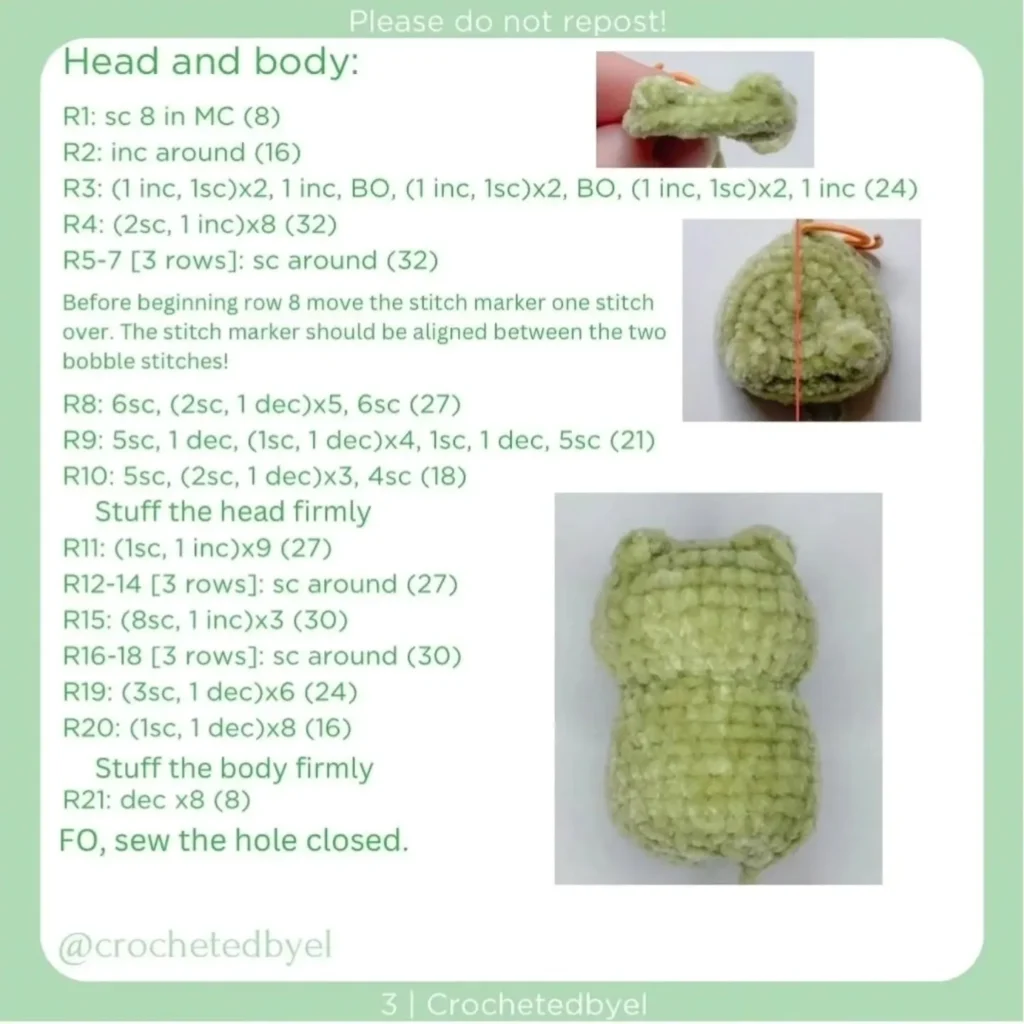
(1 INC, 1 SC) x 2, BO, (1 INC, 1 SC) x 2, BO, (1 INC, 1 SC) x 2, 1 INC
(24)
R4
(2 SC, 1 INC) x 8
(32)
R5-7
SC around (3 rows)
(32)
Before beginning R8, move the stitch marker one stitch over. The stitch marker should be aligned between the two bobble stitches.
R8
6 SC, (2 SC, 1 DEC) x 5, 6 SC
(27)
R9
5 SC, 1 DEC, (1 SC, 1 DEC) x 4, 1 SC, 1 DEC, 5 SC
(21)
R10
5 SC, (2 SC, 1 DEC) x 3, 4 SC
(18)
Stuff the head firmly.
R11
(1 SC, 1 INC) x 9
(27)
R12-14
SC around (3 rows)
(27)
R15
(8 SC, 1 INC) x 3
(30)
R16-18
SC around (3 rows)
(30)
R19
(3 SC, 1 DEC) x 6
(24)
R20
(1 SC, 1 DEC) x 8
(16)
Stuff the body firmly.
R21
DEC x 8
(8)
FO, sew the hole closed.
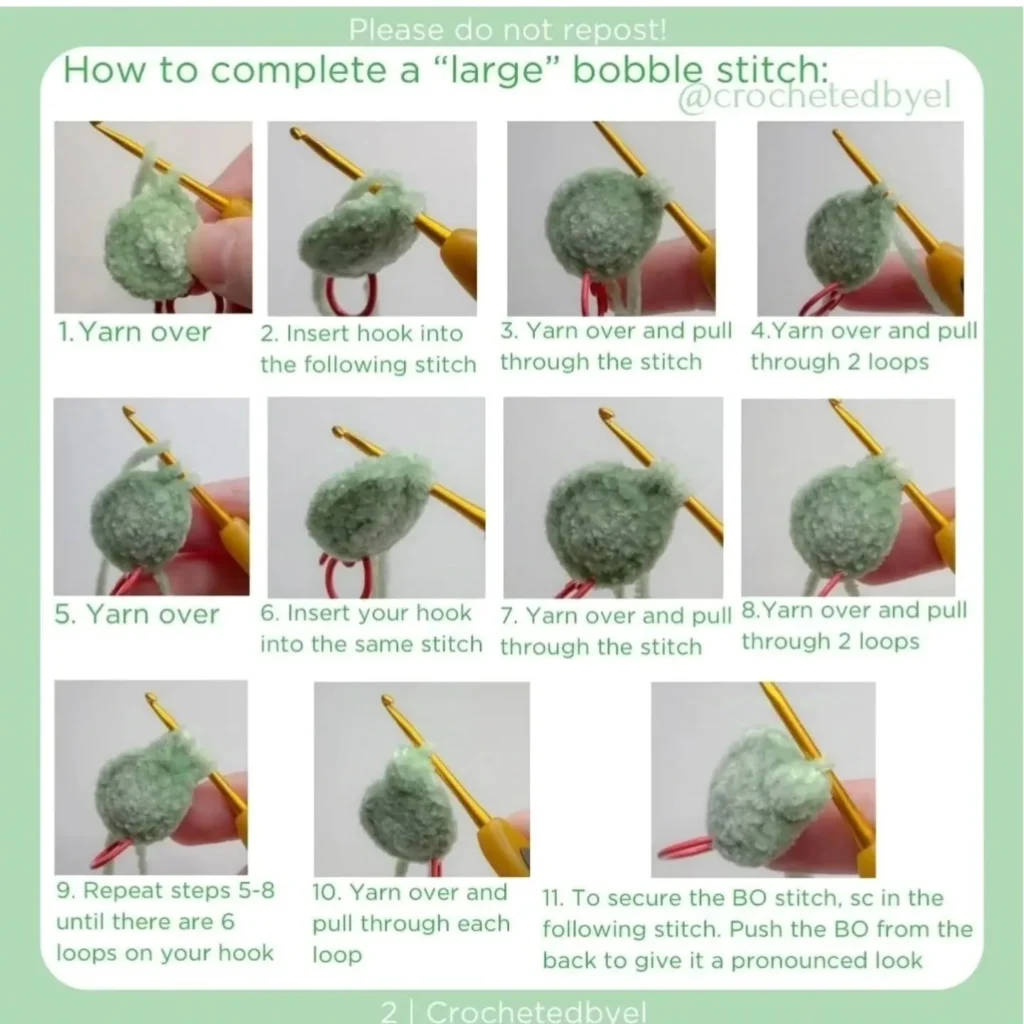
Large Bobble Stitch (BO) Instructions
Step 1: Yarn over.
Step 2: Insert hook into the following stitch.
Step 3: Yarn over and pull through the stitch (3 loops on hook).
Step 4: Yarn over and pull through 2 loops (2 loops on hook).
Step 5-8 (Repeat): Yarn over, insert hook into the same stitch, yarn over and pull through the stitch, yarn over and pull through 2 loops. (Repeat this loop process until you have 6 loops on your hook).
Step 9: Yarn over and pull through all 6 loops on your hook.
Step 10: To secure the BO stitch, SC in the following stitch.
Step 11: Push the BO from the back to give it a pronounced look.
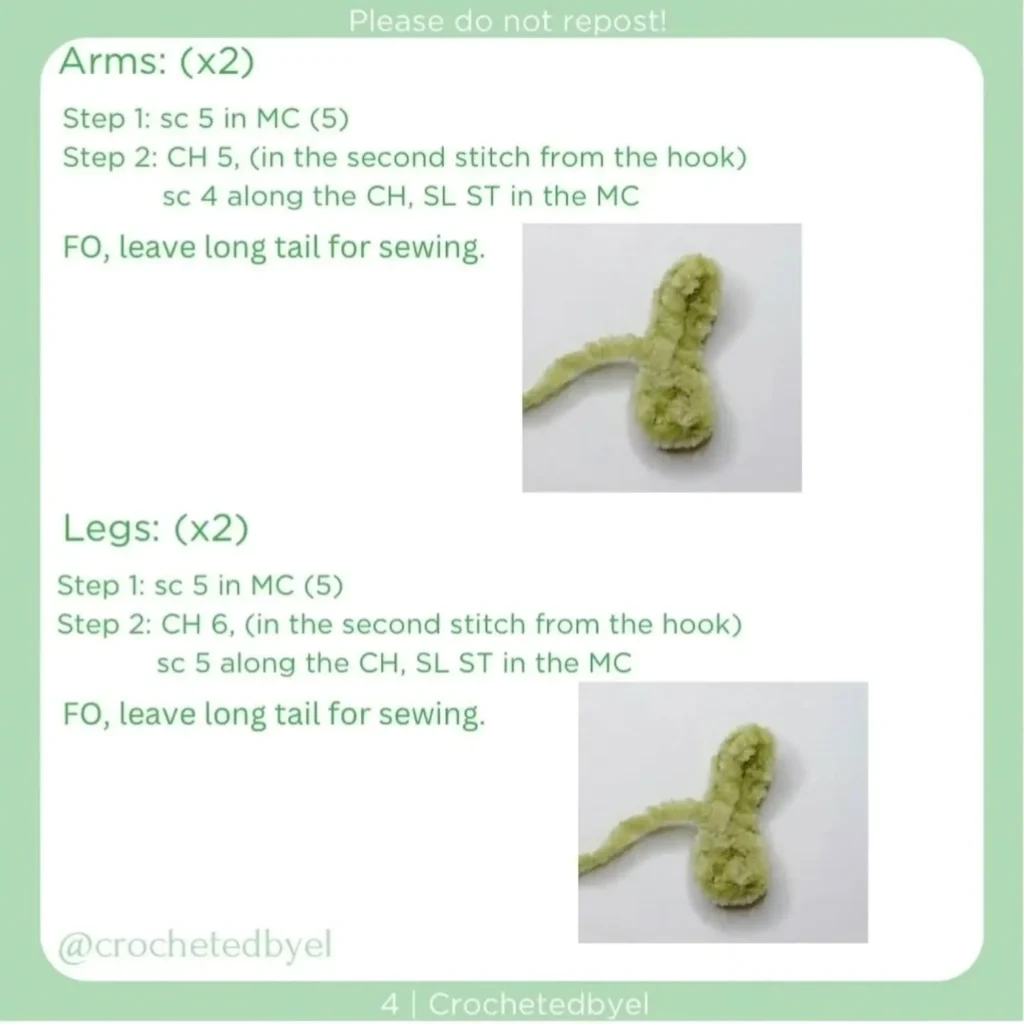
2. Arms (x2)
Step
Pattern
Stitches (St)
1
SC 5 in MC
(5)
2
CH 5, (in the second stitch from the hook) SC 4 along the CH, SL ST in the MC
FO, leave long tail for sewing.
3. Legs (x2)
Step
Pattern
Stitches (St)
1
SC 5 in MC
(5)
2
CH 6, (in the second stitch from the hook) SC 5 along the CH, SL ST in the MC
FO, leave long tail for sewing.
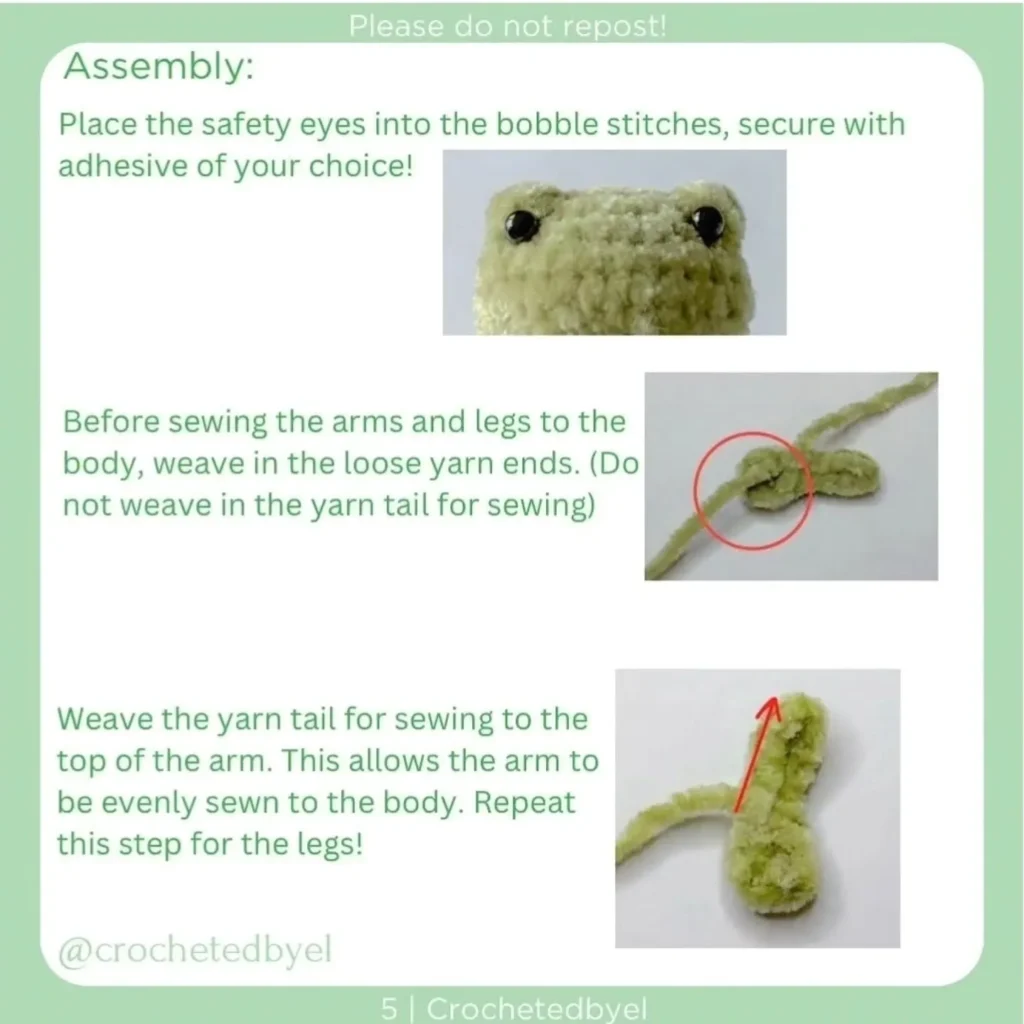
4. Assembly
Eyes: Place the 4mm safety eyes into the bobble stitches (R3). Secure with felt glue or adhesive of your choice.
Preparation: Before sewing the arms and legs, weave the yarn tail for sewing to the top of the arm/leg. This allows the limb to be evenly sewn to the body.
Arms: Sew the arms between rows 10-11. The arms should be 1 stitch behind the eyes.
Legs: Sew the legs horizontally across rows 19-21. The legs should align with the arms.
Optional Finishing
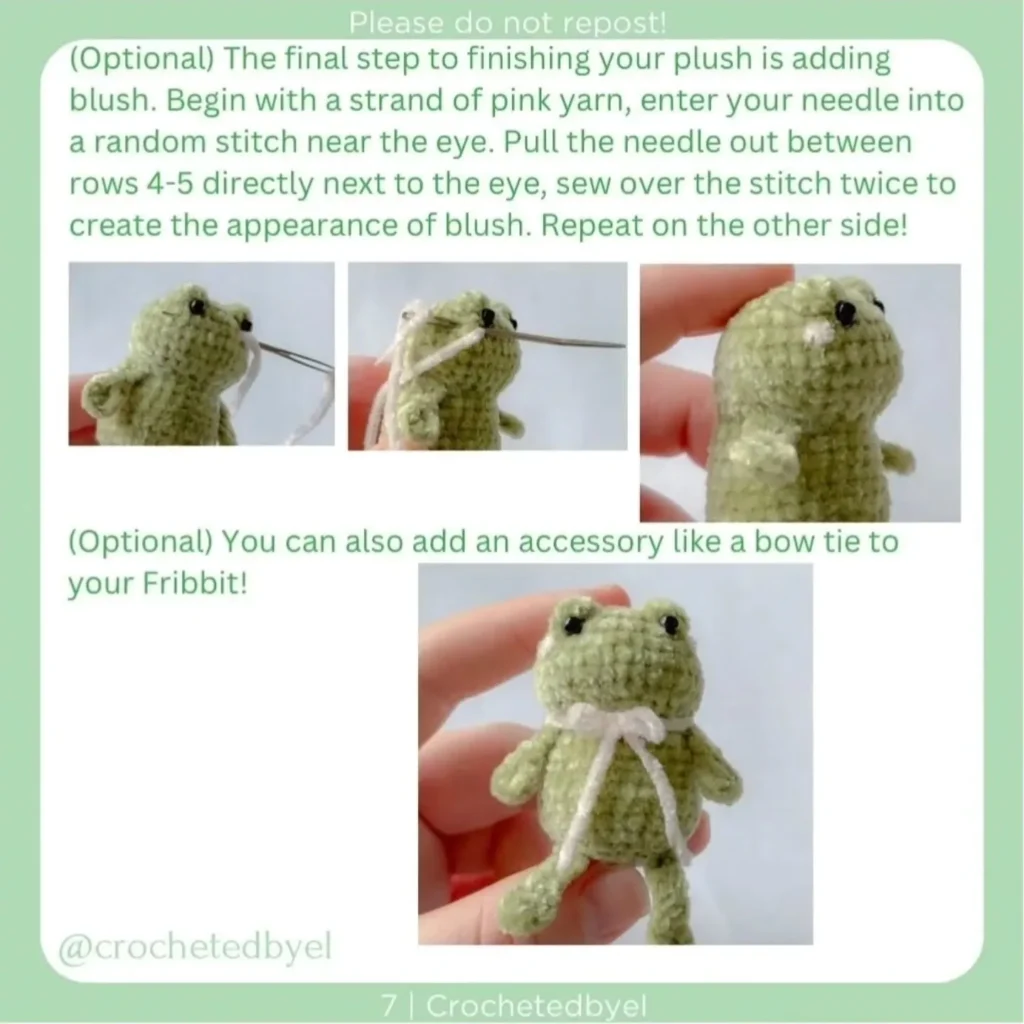
Blush: Use a strand of pink yarn and a needle. Pull the needle out between rows 4-5 directly next to the eye. Sew over the stitch twice to create the appearance of blush. Repeat on the other side.
Accessory: Add a bow tie or other accessory to your Fribbit!
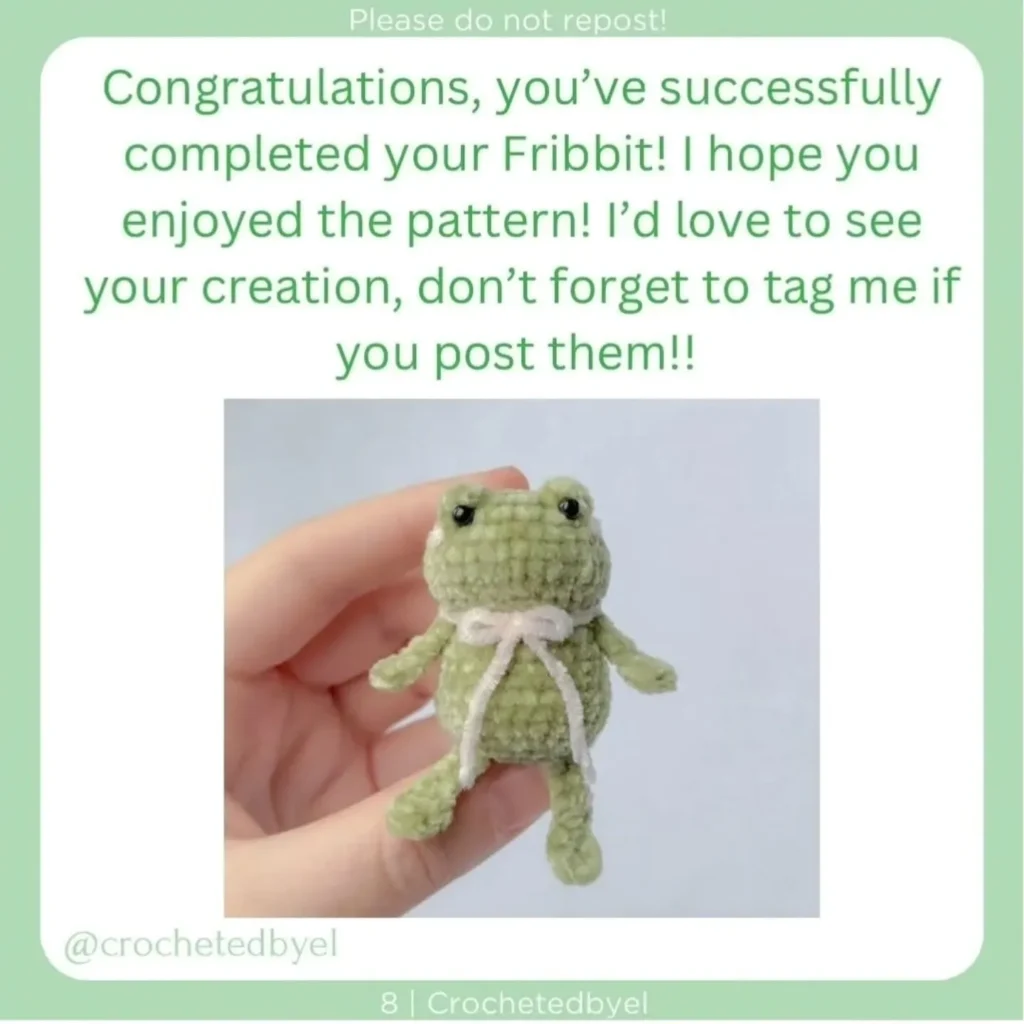
Congratulations on completing your Fribbit! Let me know if you have any questions about the instructions or assembly.